Disabling laptop keyboard
Recently I purchased a new máy tính xách tay and noticed that its inbuilt keyboard is too small to lớn type. The manufacturer has made the keyboards smaller so that it is lighter & easy khổng lồ carry out. But this practice has made typing difficult on laptops compared lớn on the desktop with an external keyboard. Finally, I decided to disable the built-in keyboard & attach an external keyboard lớn carry out my day-to-day job.
Bạn đang xem: Disabling laptop keyboard
Though an external keyboard is difficult lớn carry, it is convenient for fast typing, and also it comes very cheaply in the market. If you also want khổng lồ disable the laptop’s internal keyboard & put an external keyboard on your Windows 10 machine, this article will help you to vì chưng the same.
There are at least two ways through which we can disable the máy vi tính keyboard on Windows 10:-
Disable máy tính xách tay Keyboard via Device ManagerDisable máy tính Keyboard using Group PolicyTopics Covered
How to Disable máy vi tính Internal Keyboard via Device Manager?
Group Policy is the easiest và convenient way lớn disable the laptop Keyboard on Windows 10. However, this method may not work with every Laptop. Khổng lồ disable the internal Keyboard, perform the following steps:-
Step 1. Click on the Start button and type device manager. In the available top results, click on the “Device Manager” to xuất hiện it.
Step 2. In the Device Manager window, find and expand the ‘Keyboards‘ entry.
Step 3. Right-click on the internal Keyboard & select the Disable option. If you don’t see a Disable option listed, click Uninstall.
Once you complete the above steps, your laptop’s internal keyboard should now be disabled. Disabling the keyboard is acceptable; however, if you don’t see a Disable option and choose Uninstall option on your laptop, it will install the drivers again & start working once you restart your laptop.
How to Disable máy tính Internal Keyboard using Group Policy?
It is convenient for those who don’t find Disable option in Device Manager for the internal keyboards. Group Policy Editor is another method khổng lồ enable the device installation restriction. Using this method, you can block your máy tính xách tay keyboard from reinstalling when you start up your device.
Before proceeding with further steps, ensure that gpedit.msc is only applicable khổng lồ Windows 10 Pro và Enterprise edition devices. Those who are still using Windows 10 home edition need lớn enable the Group Policy on their machine first.
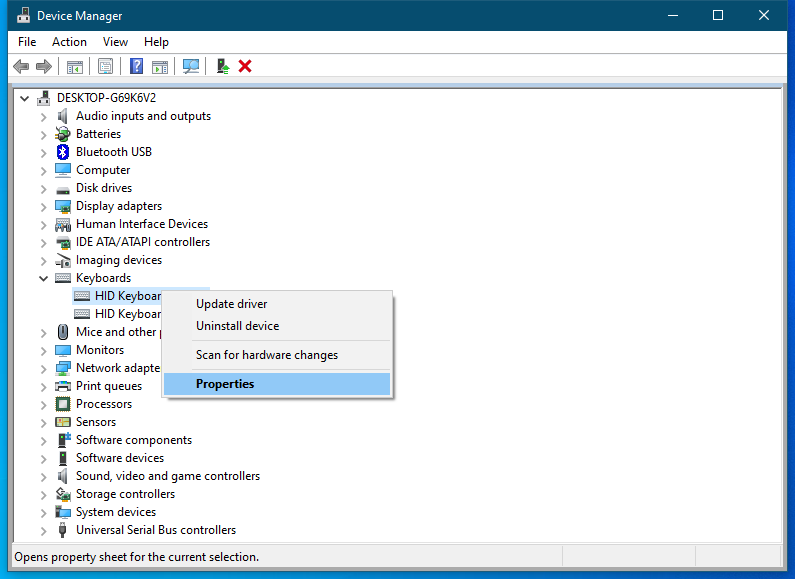
Step 1. Click on the Start button & type device manager. In the available vị trí cao nhất results, click on the Device Manager to open it.
Step 2. In the Device Manager window, find & expand the ‘Keyboards‘ entry.
Step 3. Right-click on the internal Keyboard và select the Disable option. If you don’t see a Disable option listed, click Uninstall.
Step 4. Right-click on the internal keyboard & select the Properties option.
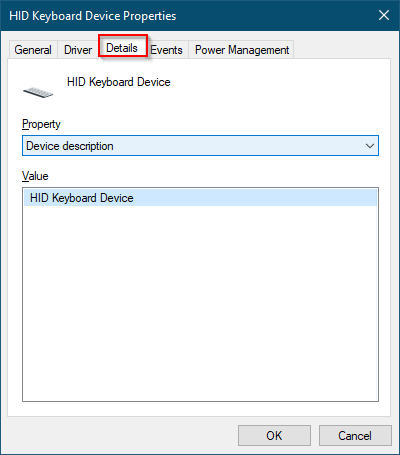
Step 5. In the Properties dialog box, switch to the Details tab.
Step 6. In the Property drop-down menu, select Hardware Ids from the list.
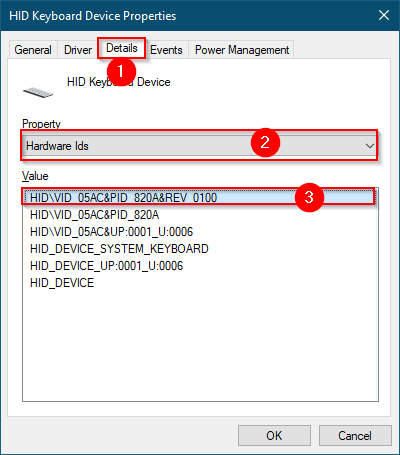
Step 7. In the Value section, please right-click on the first entry và select Copy (Paste it in a notepad file).
Xem thêm: Hướng Dẫn Cách Chỉnh Thời Gian Trên Máy Tính, Hướng Dẫn Cách Cài Đặt Ngày Giờ Trên Máy Tính
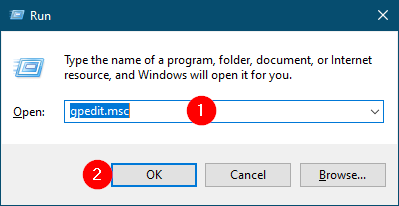
Step 8. Now, press the Windows logo + R keys from the keyboard to open the Run dialog box.
Step 9. In the Run dialog box, type gpedit.msc and click the OK button to mở cửa the Local Group Policy Editor window.
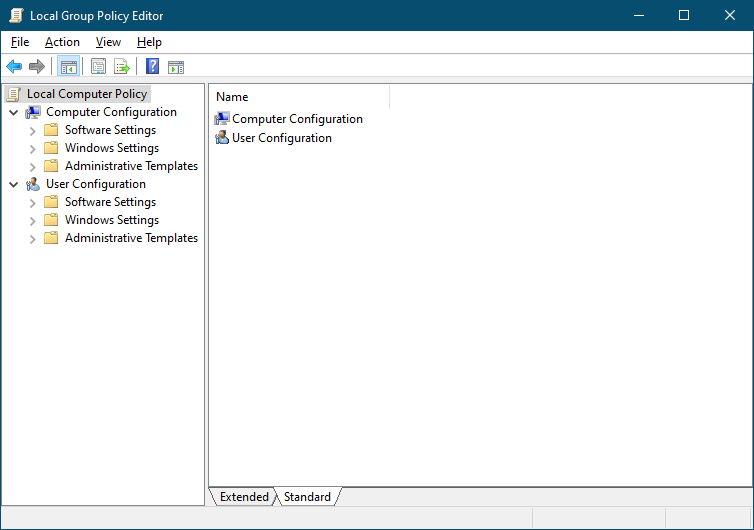
Step 10. From the left side pane, navigate khổng lồ the following path:-
Computer Configuration > Administrative Templates > System > Device Installation > Device Installation Restrictions
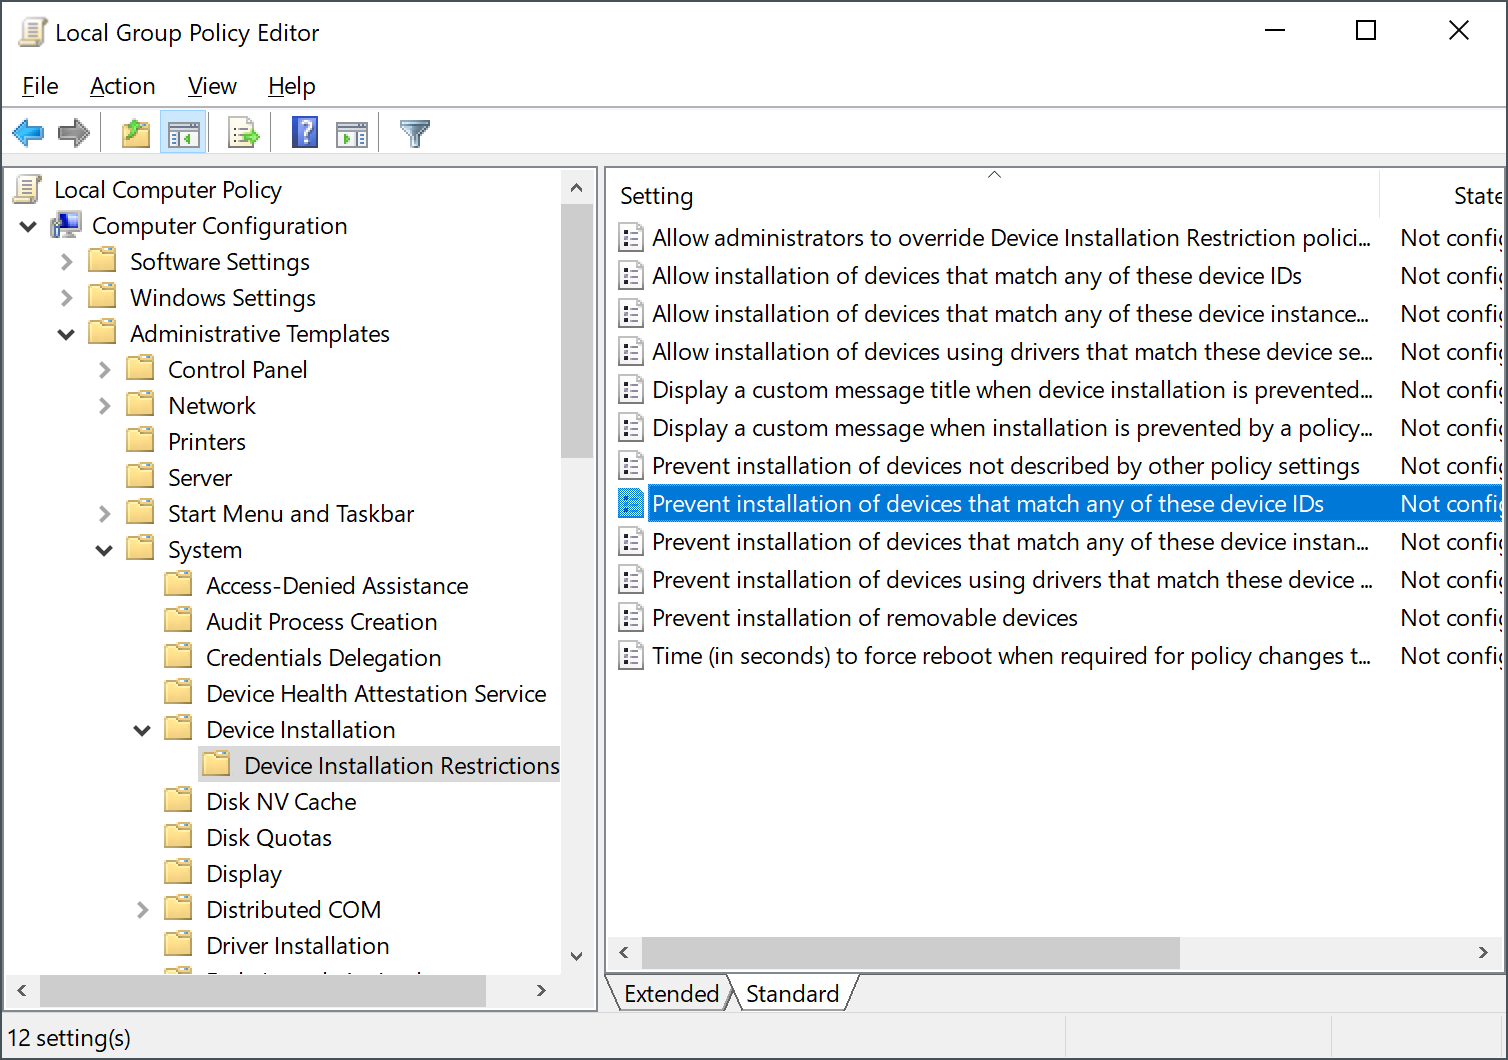
Step 11. On the right side of the Device Installation Restrictions folder, double click on the policy “Prevent installation of devices that match any of these device instance IDs” to lớn modify it.
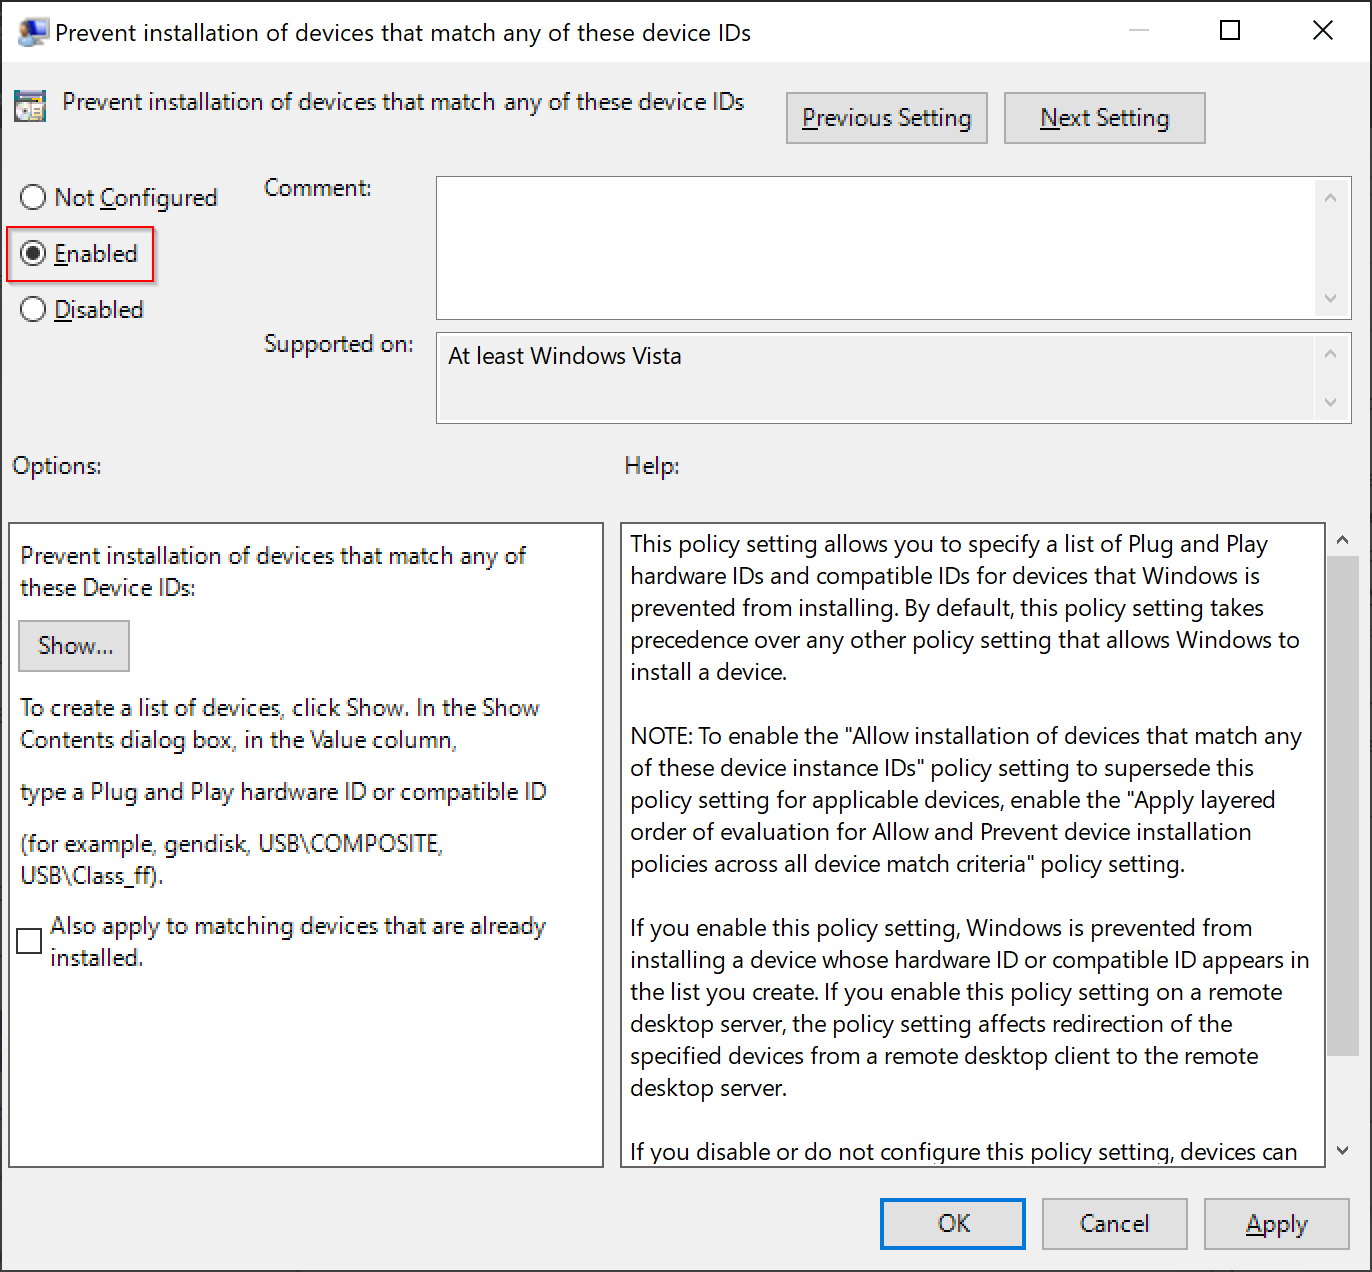
Step 12. Select the Enabled option.
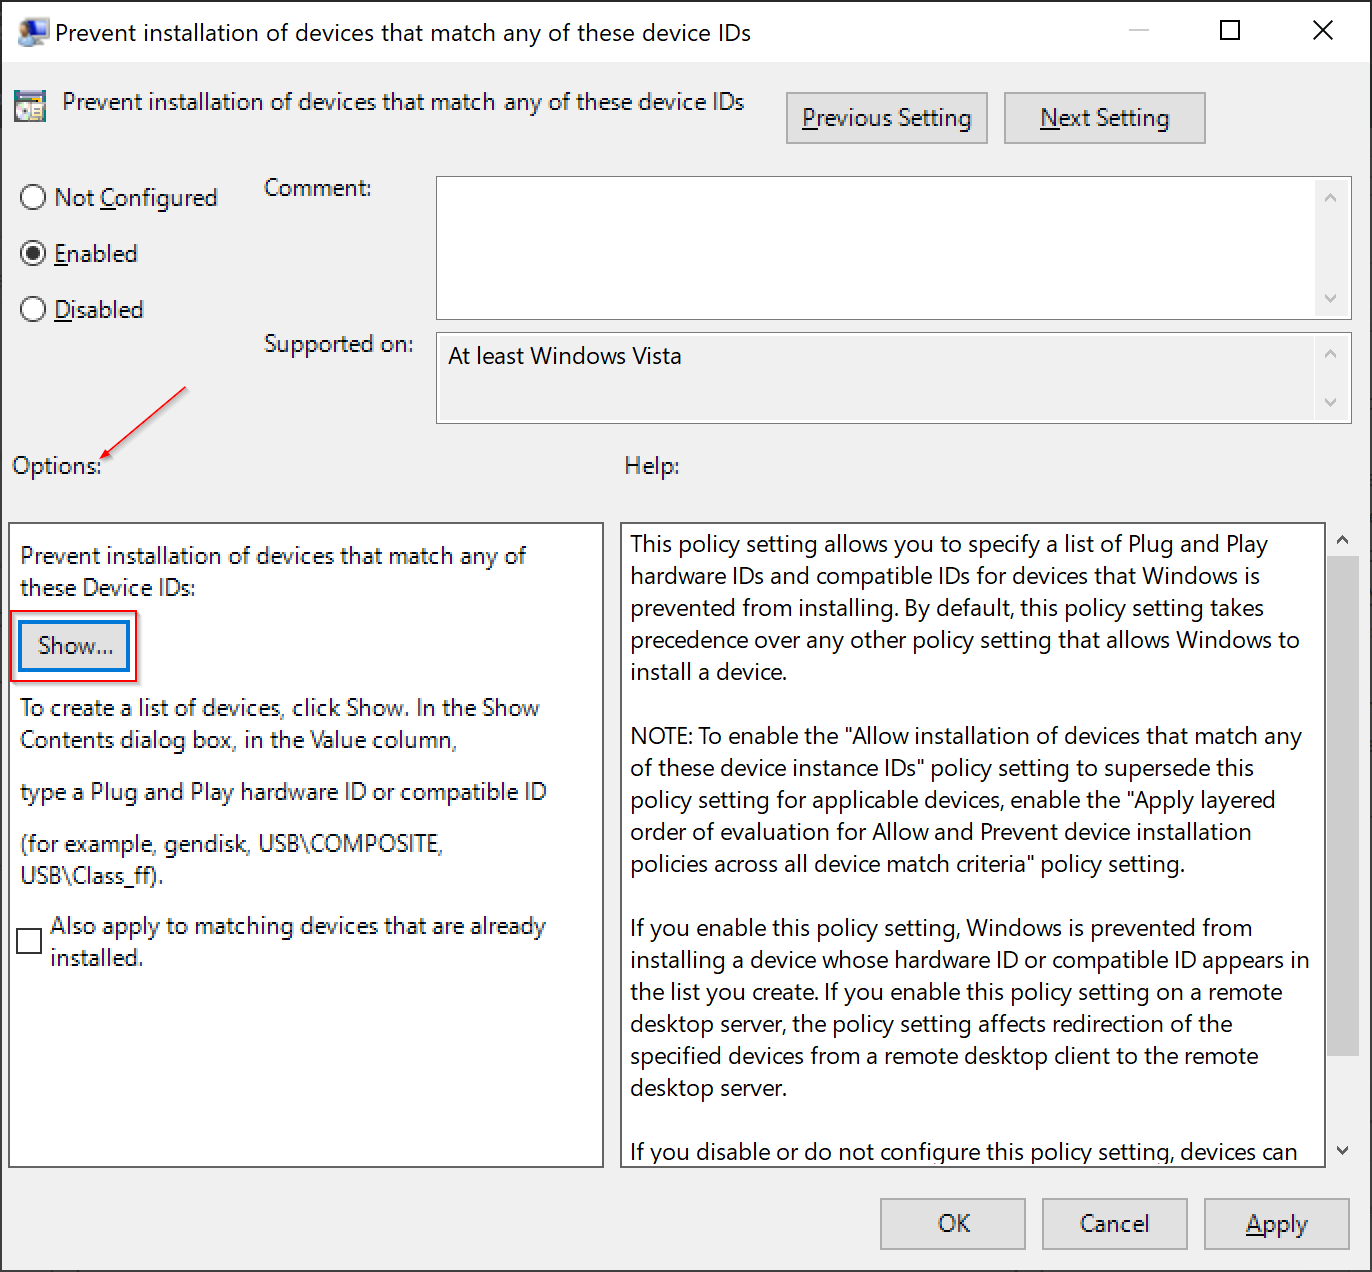
Step 13. Under the Options section, click on the Show button.
Step 14. In the “Show Contents” dialog box, under the Value column, double-click the space bar & paste the ID you have copied in Step 7.
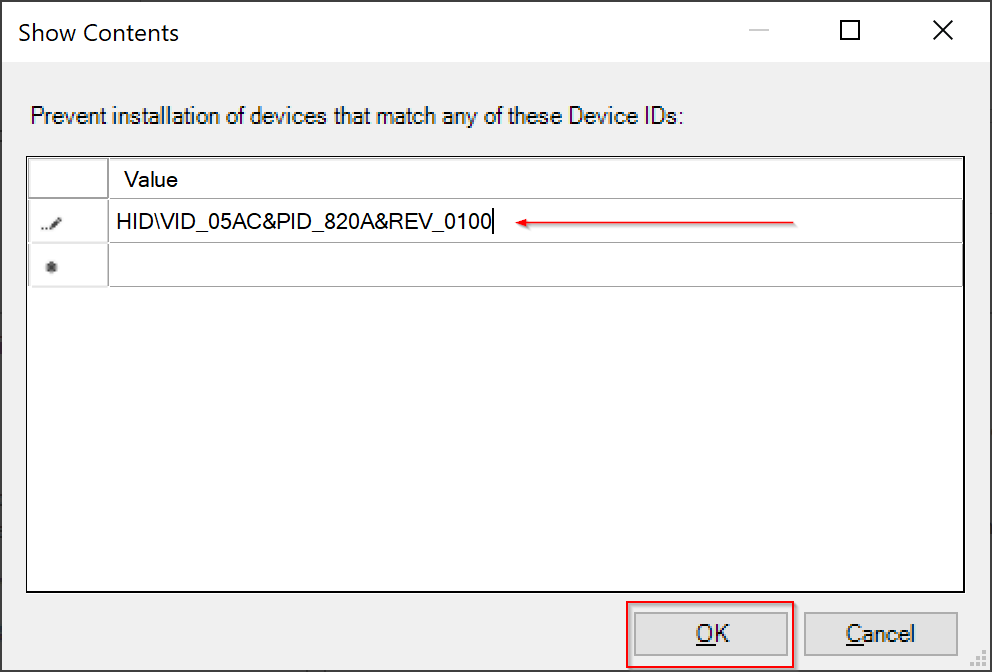
Step 15. Click OK.
Step 16. Click Apply.
Step 17. Click OK.
Step 18. Again, click on the Start button và type device manager. In the available đứng đầu results, click on the “Device Manager” to mở cửa it.
Step 19. In the Device Manager window, find and expand the ‘Keyboards‘ entry.
Step 20. Right-click on the internal Keyboard and select the Uninstall device option.
Step 21. Reboot your laptop.
Once you complete the above steps, your laptop’s in-house keyboard should now be disabled.


